
Evanston Epoxy Flooring has spent 20+ years grinding concrete, and we install polished concrete floors in Evanston, IL, serving surrounding cities including Lincolnwood, Winnetka, Norridge, Schiller Park and River Grove. A polished floor is the slab itself, ground flat, hardened and brought to a sheen, with no film on top to peel, blister or wear through.
That simplicity is the appeal, and also the catch. Because nothing covers the concrete, its history shows: the patches, the old adhesive lines and the color changes between pours. We look at the slab before quoting and tell you plainly what the finished floor will look like, rather than promising a showroom finish on a floor that cannot give one.
On this page we cover where polished concrete works in homes and commercial buildings, how a floor is ground and polished step by step, and how to choose the look, from a smooth cream finish to fully exposed stone.
Residential Polished Concrete Floors
Basements and Lower Levels
A polished basement floor gives a lower level a clean, modern finish that is easy to keep and has no coating to lift. Because there is no film on the surface, a polished slab lets some vapor pass through instead of trapping it under a coating, which can suit a slab whose moisture readings are borderline for a resin system.
It is not a cure for a wet basement, though. Efflorescence can still appear on a polished floor where water moves through the concrete, and water that comes up through a floor drain or seeps in at the wall still needs a drainage fix. We test the slab and talk through those limits before the first pass.
Garages, Workshops and Home Gyms
Polished concrete can work in a workshop or home gym, where the floor sees foot traffic, carts and equipment rather than salt. In a garage that takes winter brine every day, we are more cautious. Densified concrete resists staining far better than bare concrete, but calcium chloride brine sitting on it all winter can still dull and etch the surface.
For a car garage in northern Illinois, we usually recommend a coating with a chemical-resistant topcoat instead, and we say so even when the polished look is what you came in asking for.
Commercial Polished Concrete Floors
Retail, Showrooms and Offices
Polished concrete suits stores, showrooms and offices that want a durable floor that reflects light and cleans with a dust mop and an auto-scrubber. A higher sheen brightens a sales floor, while a satin finish reads quieter in an office. We plan the work in sections so a business can keep part of the space open.
Existing tile, carpet adhesive or old coatings have to come off first, and that removal is often the biggest variable in the price. We find out what is on the floor before quoting, and grind a test area where it is unclear.
Warehouses and Light Industrial Floors
In a warehouse, polishing removes the soft, dusty top layer and leaves a harder surface that sheds less dust under forklift traffic. Densifier is what does most of that work, and the polish makes the floor easier to sweep and scrub.
Where a floor sees heavy chemical spills, hot washdown or steel wheels gouging the surface, a polished slab is the wrong choice and a resin system or urethane cement is the right one. We would rather point you to the floor that suits the building than sell the one on the page.
Our Step-by-Step Polished Concrete Floors Process
Step 1: Reading the Slab
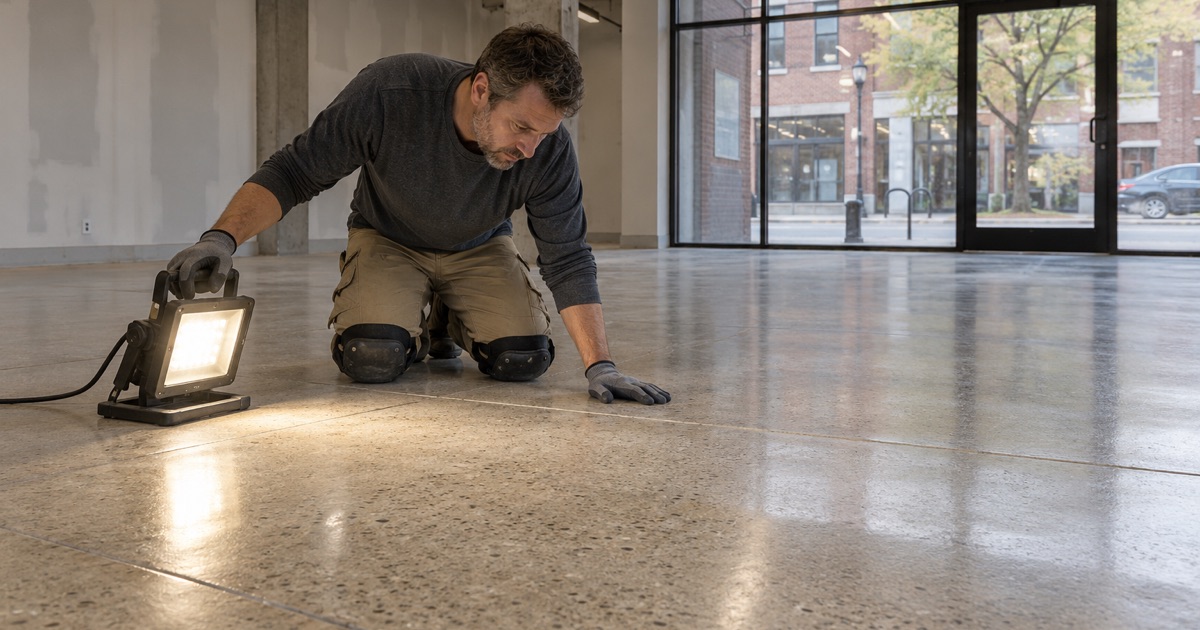
We check hardness, flatness, cracks, patches, old coatings and adhesive, and test moisture where the floor is below grade. On an older floor we grind a small test spot to see what aggregate sits under the surface before you choose a finish.
The moisture reading on a below-grade slab also decides what can go on at the end, since a dense topical product over a damp slab can haze. If the floor turns out to carry a thin topping or overlay, polishing can cut straight through it, and we would rather find that out here than halfway through the grind.
Step 2: Grinding to the Chosen Exposure
Metal-bond diamonds take off coatings and the top of the slab to the depth that gives the look you chose. A light grind keeps a cream finish, a medium grind shows a salt-and-pepper fleck of sand, and a deep grind exposes the stone.
Grinding is the loudest and dustiest part of the job. Our grinders run attached to industrial vacuums, and in occupied homes and businesses we keep the heavy passes inside the town’s construction hours, so a polishing job does not spill into a neighbor’s evening.
Step 3: Densifying With Lithium Silicate
A lithium silicate densifier is applied after the coarse grind, where it soaks in and reacts with the concrete to harden the surface. A harder slab polishes to a better sheen and holds it longer under traffic.
Densifier does not add a layer that can wear off; it changes the surface of the concrete itself. On a soft or dusty older slab a second application can be worth the cost, and we decide that from how the floor responds to the first rather than by habit.
Step 4: Honing and Polishing Through the Grits
Resin-bond diamonds then refine the surface through a series of finer grits, each one removing the scratches left by the last. The final grit sets the sheen, from a low satin to a high gloss.
Skipping grits is the shortcut that shows. A floor jumped from a coarse diamond to a fine one looks shiny from the doorway and scratched up close. Every grit in our sequence is run fully across the floor, and the proposal states the final grit so you can check the sheen against what was quoted.
Step 5: Guard, Burnish and Handover
A penetrating guard adds stain resistance, and a high-speed burnish brings up the final shine. We walk the floor with you, leave written care steps, and note which areas may need a periodic burnish to keep their look.
Choosing the Look of a Polished Floor
Cream, Salt-and-Pepper and Exposed Aggregate
A cream finish keeps the smooth top paste of the slab and costs the least, but it only works where the surface is even and undamaged. Salt and pepper shows fine sand across the surface, and exposed aggregate shows the larger stone, which hides wear and old marks best but takes the most grinding.
On an older floor the slab often makes the choice for you. A surface with patches, pitting or old adhesive usually has to be ground past the cream layer anyway, so the realistic options are salt and pepper or exposed stone, and we show you a test area before you commit.
Sheen Levels From Satin to High Gloss
The sheen is set by the final polishing grit. Satin hides scuffs and suits busy floors, while high gloss reflects the most light and looks most dramatic in a showroom. We polish a sample patch in the room so you see it in your own lighting.
Sheen also changes how a floor is cared for. A high-gloss floor in a busy entry shows grit scratches sooner and benefits from more frequent dust mopping and an occasional burnish, while a satin floor forgives more between cleanings. We match the sheen to how the space is actually used.
Dyes, Stains and Saw-Cut Patterns
Penetrating dyes add color without a film, and saw cuts can create borders, grids or zones in a large space. Color reacts differently on every slab, so we always sample it on the floor itself before committing a whole room to it.
- 20+ Years in Business
- Moisture Testing in Every Quote
- Written Proposals